Wednesday, May 2, 2007

finishing the wall

To take out this last part of the wall I decided it was too much work to pull off the tongue and groove so I cut the whole wall in half and took it out in two pieces. The boys helped with the first part but I only have the pictures on my phone.

This is the second half of the wall coming out.


There it is... or isn't... It's finally all down!


Next up, the office wall


We thought this was a nice shade of pink, it almost made us change our minds about taking out the wall.


The boards on the floor mark the area that will be for the fridge. We don't mind losing the space in the office in order to have the fridge flush with the kitchen wall.


This is looking into the office. of course that's the area that will be walled in for the fridge.


This is the view from the dinning room. nice big open space.


Now if I can only figure out how to close up that big hole....

misc. jobs

Here are some other things that have gone on this past week. I'll get to the photos and add the descriptions there.


the leaking drain has been replaced.


When I took out the door frame around the stairs, the bottom tread and riser had holes in them where they were notched around the frame. So I decided to replace them.


And here it is. I think it came out pretty well.


The new water heater is installed.


The new furnace.. nice and small... and efficient, almost free to run it they tell me. LOL


The new panel box is in... Sort of seems like overkill at the moment. I'll need to add some new circuits to fill it up i guess.

Well, we seem to have gone from a dirty house that could be lived in to an even dirtier house that can't be. The next steps will be to start framing in the new partition walls in the office and downstairs half bath, running some new electric for outlets (one in each room doesn't really cut it these days), and replacing the tub and suround upstairs. Lots of work ahead but we can see it taking shape.

Steve

Thursday, April 26, 2007

Taking the night off

here are the photos from yesterdays post. I'm taking the night off to recover a little. We've got the dumpster through the weekend so we should be able to finish the heavy tear out by then. Hopefully I won't regret staying home tonight.


.
This wall was hard. even with the firring strips pulled out, the plaster still didn't want to come off.


Notice the tongue and groove still to be pulled


That's the hole above the office closet ceiling. it goes all the way up to the roof over the kitchen. Very strange in my opinion.


And here is our new sliding door.

That's for tonight. I'll post again after this weekends work.

Steve

Wednesday, April 25, 2007

Short night tonight

We did a little more work on the kitchen wall tonight. We got the kitchen side down to the last layer, a very solid tongue and groove. I think that will be very hard to pull so it's going to be sawzall to the rescue. That may be the best tool ever invented for demolition (or deconstruction as we're fond of calling it) You can spend 30 minutes digging nails out of a stud or 3 minutes cutting the nails and the stud just falls away. It's very nice. The other side is down to studs in the dining room and still has some plaster and lath in the office closet. Once it's all opened up I'll make the final decision on whether or not we need to put in a beam. At this point I'm leaning towards leaving it open but it sure does seem like a big open space between the old house and kitchen. There is some very strange construction on the office side of this wall. The closet ceiling is lower than all the others, so when I opened up that part from the kitchen side there is almost a foot of space above the closet ceiling that is just open into the crawl space above the kitchen. I'm going to have to build something to hang the new kitchen ceiling from. That will be clearer when you see the pictures. I can't figure out why they would have built it that way.


I took the plunge and decided to take out the 'header' above the stairway door. I bolted them together and it all looks good. I actually think we may be able to get our box spring up the stairs now.


The contractors put in the sliding glass door in the kitchen today. It looks really good, and will be even better when we finish taking out the wall. The only problem is that our back yard is really the side yard and I sort of feel exposed to the whole street. I suspect I'll get used to it and eventually we'll put up a fence anyway. I've got pics of all this but it's too late to upload and transfer them here so I'll put 'em in my next post.

More work on the stairs


I did some more work on the stairs to try and get rid of the headers above the doors. The doorway from the dinning room was just a frame, there was no real header. The doorway to the stairs though, is built like a real header but I don't think it really supports anything. Both of these doors are in the center load bearing wall so I sorta need to get this one right.

the dinning room header is out. the support beam sticks down about an inch from the ceiling on this side. it's hidden by the hanging trim in this photo.

I want to remove this header but I'm afraid the tail of the beam (the circled part) will sag over time. the attic stairs sit right over it. I'm thinking about running a metal bolt with washers through the beam at the arrows to hold it tight. The short vertical piece in the middle can be moved a little by hand so I don't think there is any real weight on it, but I want to be sure. Any thoughts? Dad? (you can click the picture to see a larger image)


The contractor got started on the new electrical service, and Jodi's brother got the new furnace in too (no pics of that though)

Tuesday, April 24, 2007

Starting the kitchen wall


The kitchen wall is next on the list and at first seemed like it would be more complicated. The kitchen is an addition to the original house and part of the wall we want to take out is the original exterior wall. I'm no architect but I figured that I might need to add some support to keep everything standing. As things progressed we discovered that all the joists sit on the side walls and on a support wall running down the middle of the house. This wall was the back of the house and seems to actually do very little. The kitchen is built the same way, in fact the first ceiling joist is over 24" from the wall, I'm not sure what holds the kitchen to the rest of the house. At this point I'm still thinking about adding a beam over the opening because of the location of the bath tub upstairs, but it may not be needed. Here's the pics...


This is the wall. The section at the end of the piano is a closet set in the kitchen addition. We plan to reclaim that space for the kitchen. The doorway is at the old exterior wall.


Here is Shaun getting into it. I swear there were about 200 nails in that one piece .


I wonder how many layers are on this wall? The dumpsters gettin kinda full.


Jodi gets to pull some plaster this time. this side went pretty easy.


Well the corner is down and nothing has fallen!


It looks open already and the part behind the ladder is going too.

That's where the door and window were
soon to be a slider off the kitchen! (the contractors did that one)

Sunday, April 22, 2007

First days


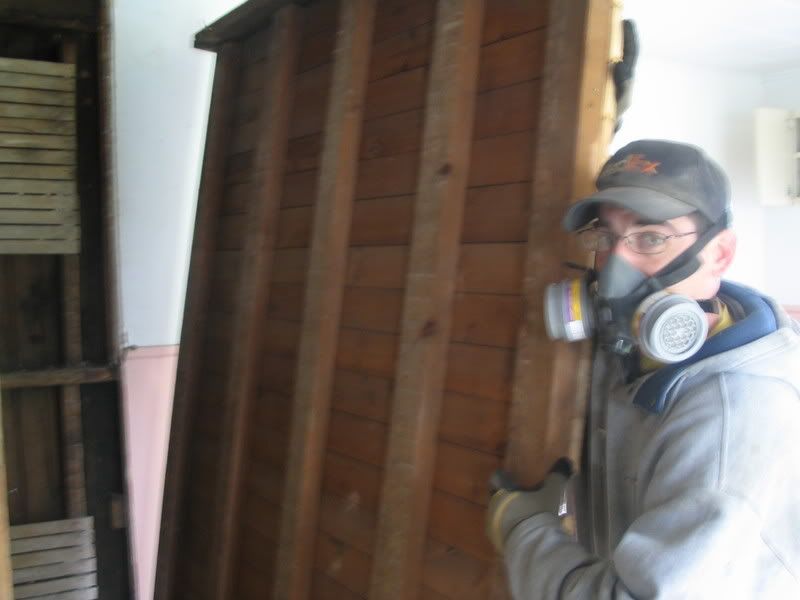
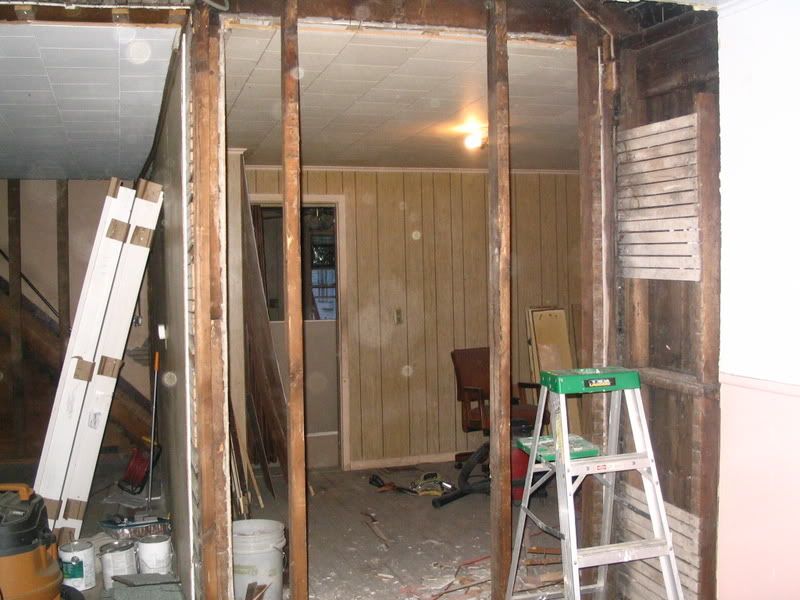
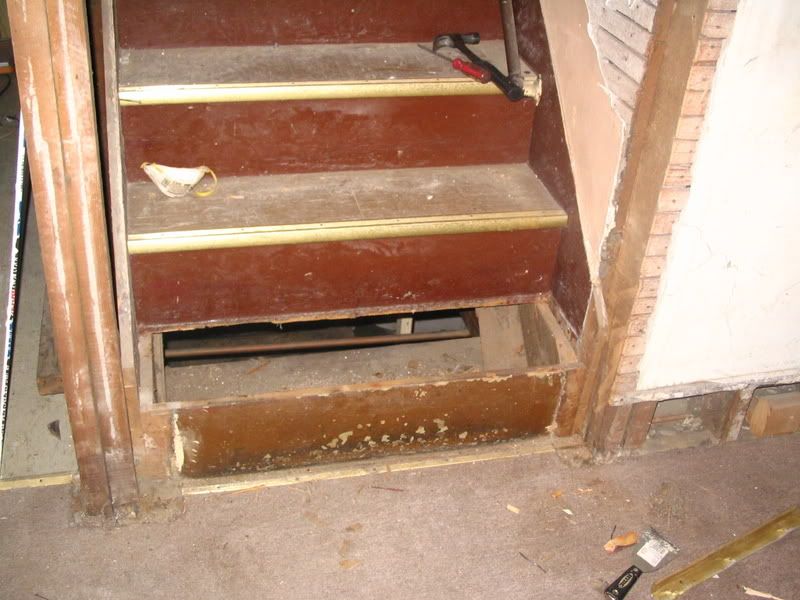
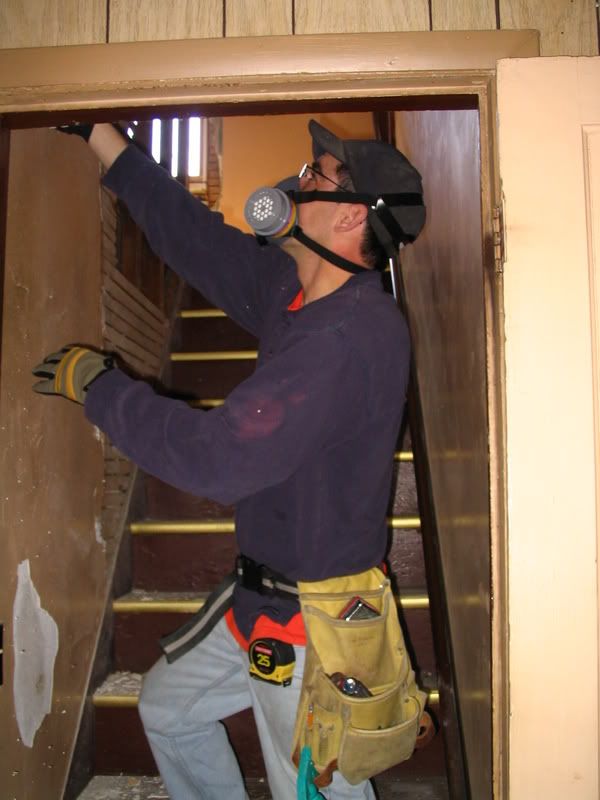
Well, after getting through the easy job of removing the window, we figured it was time to get on to bigger things. The two messiest projects looked to be, removing a wall forming two closests that would enlarge the kitchen area , and opening up the enclosed atairway. Both jobs require tearing out plaster and lath so we called for a dumpster and started to plan. I was pretty nervous about starting to swing the hammer since I just didn't want to make a mistake and have to replace something I just tore out. With some heavy duty cheerleading from Jodi and Mom and Dad we decided to start on the stairs.


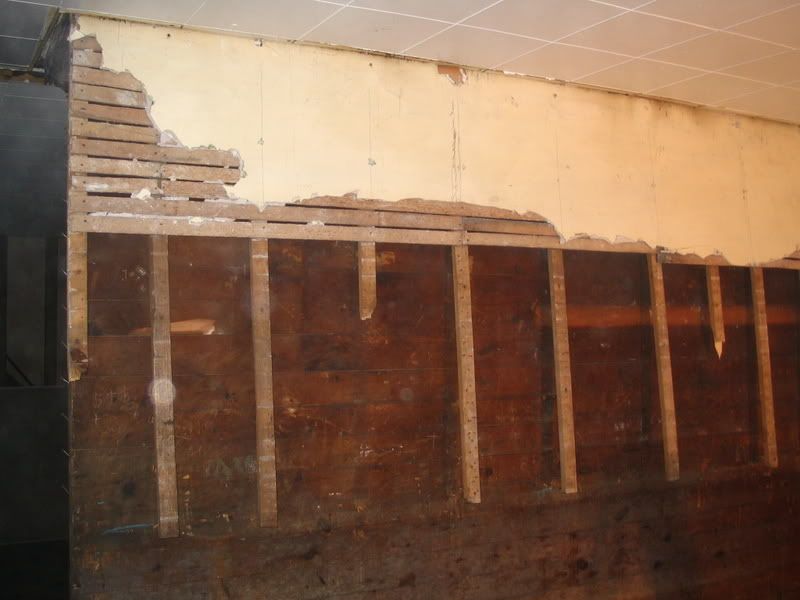
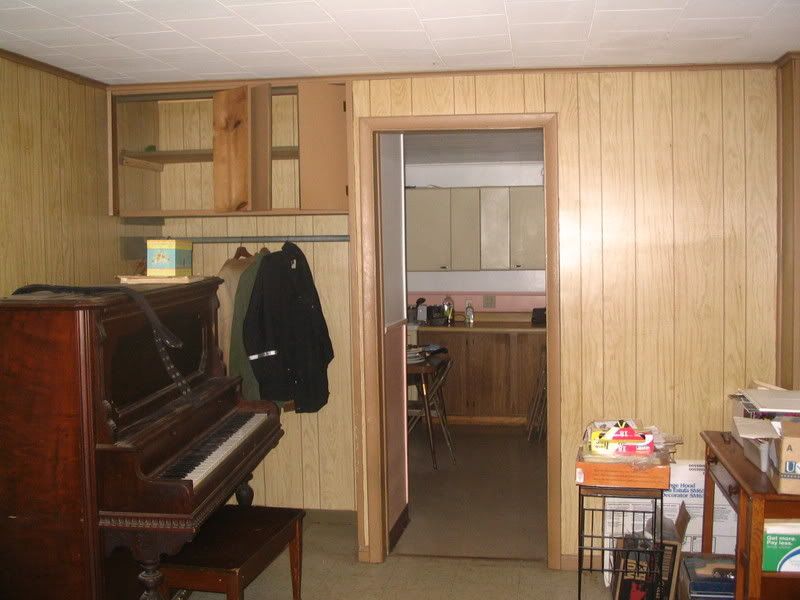
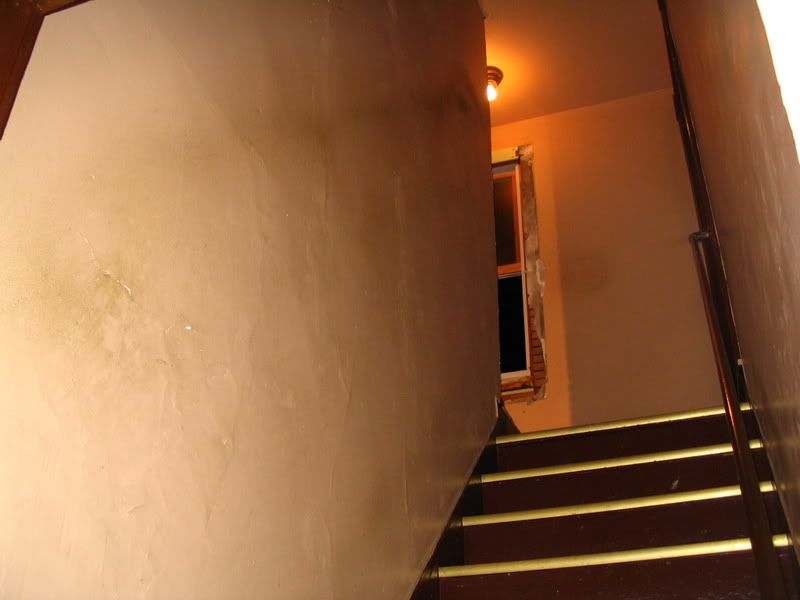
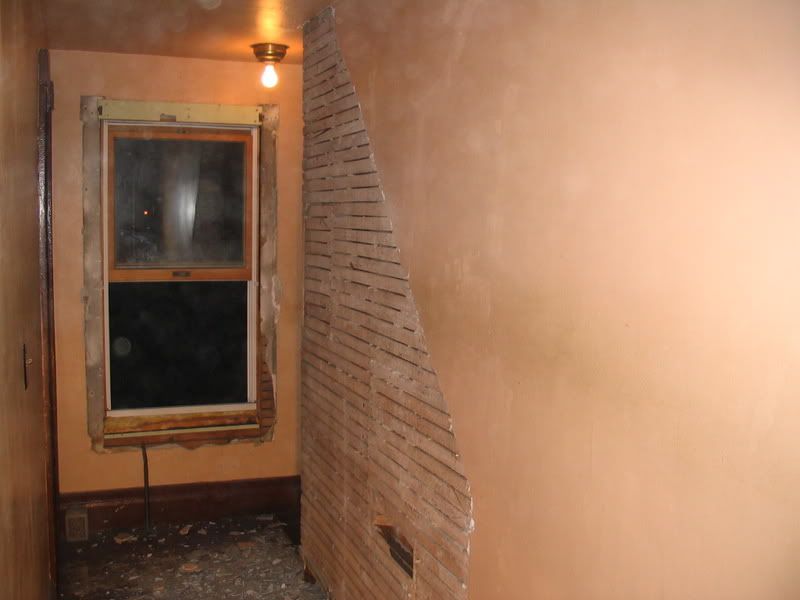
This is how they looked before we started.


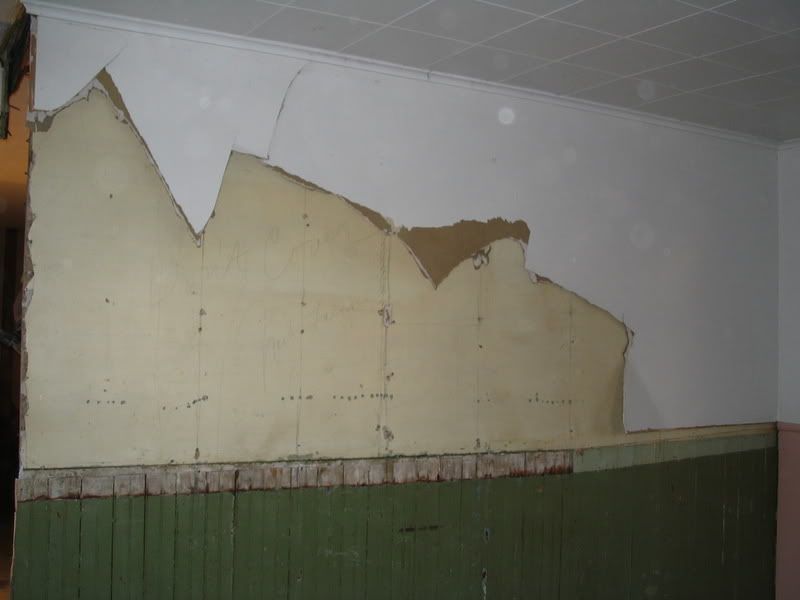
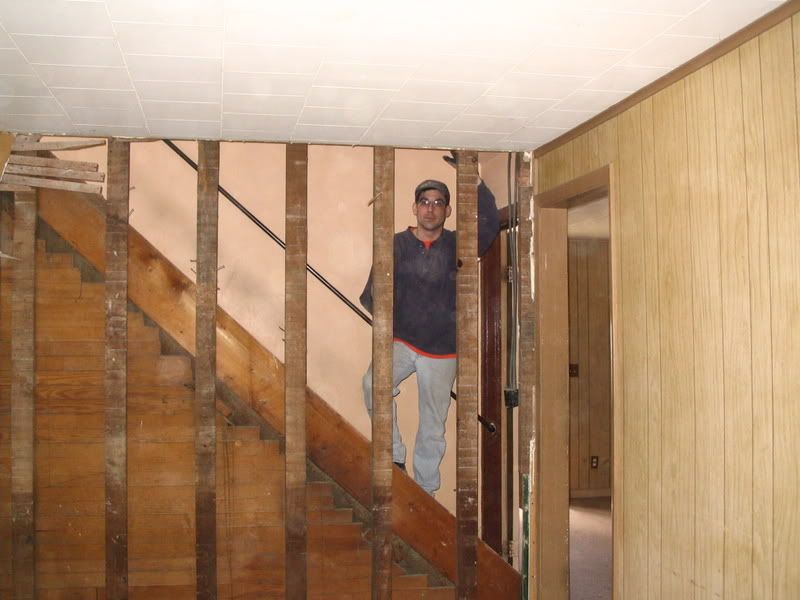
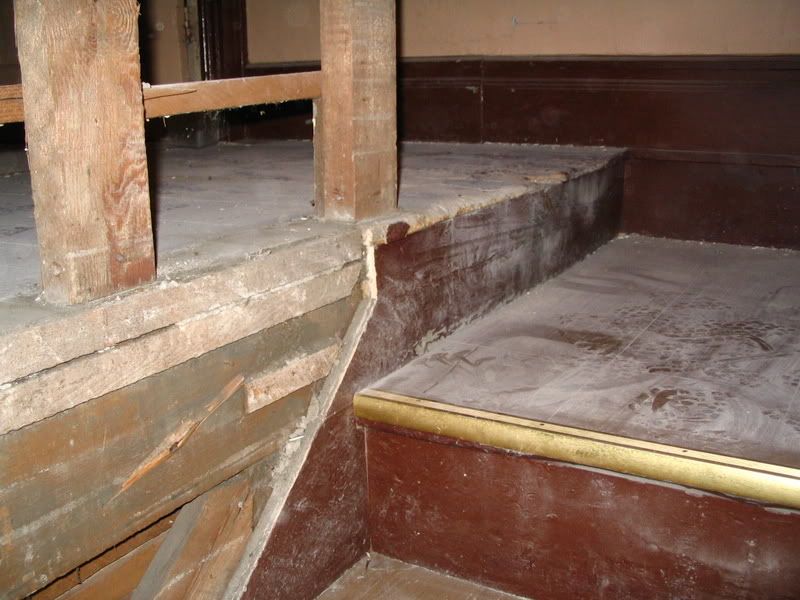
I'm pretty sure everybody understands how the tear out goes so I'll just post the pics.


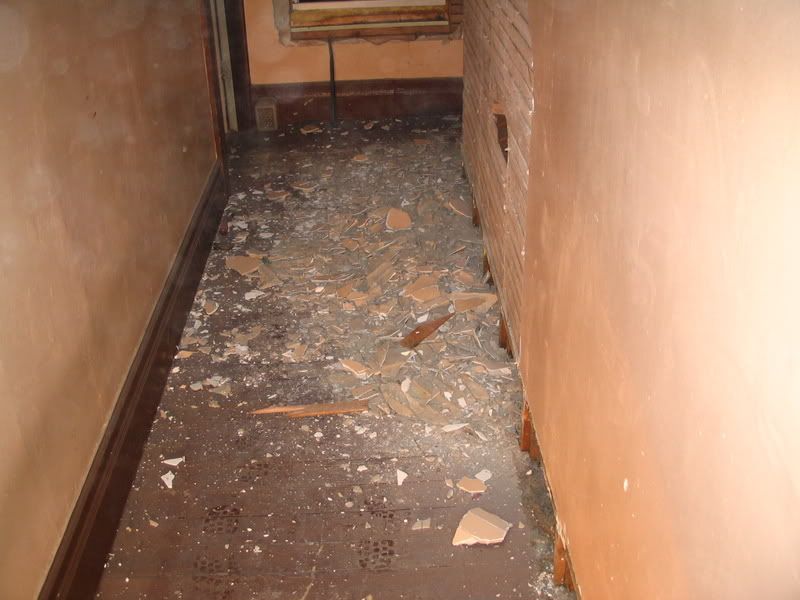
Man that's a messy job.


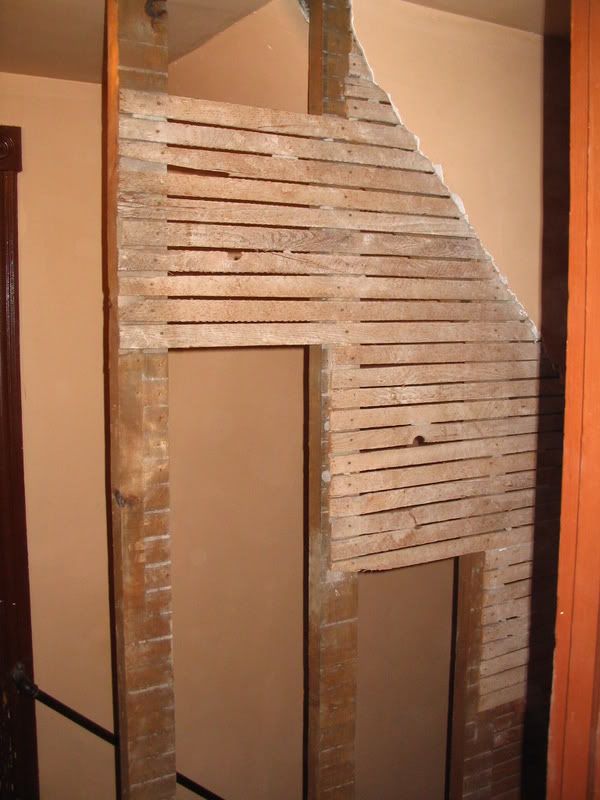
Little by little It's starting to open up


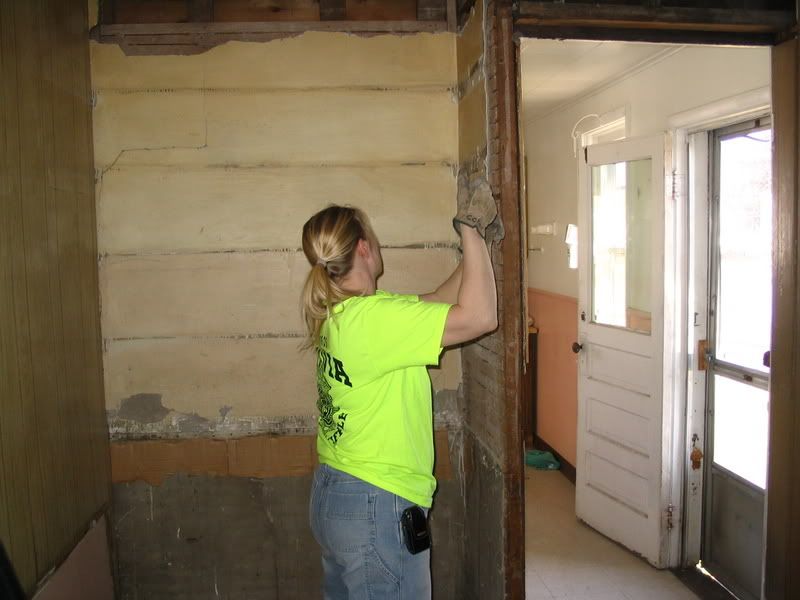
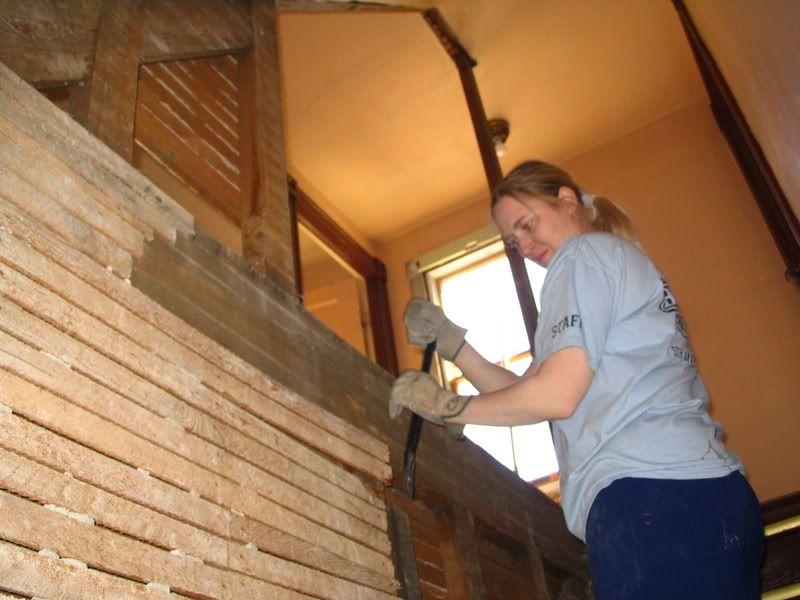
Hey look! Jodi gets to get dirty too. And you can see the top of the stairs are open.


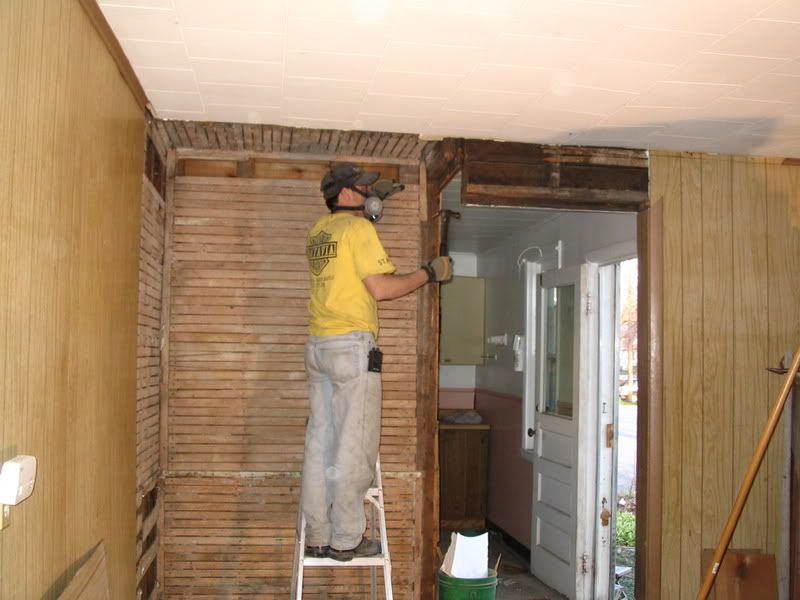
A little more plaster tear out.


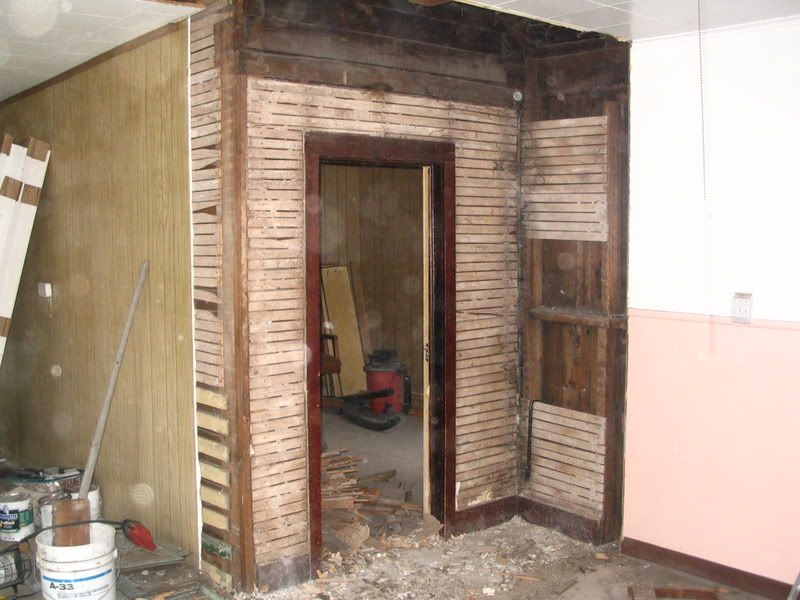
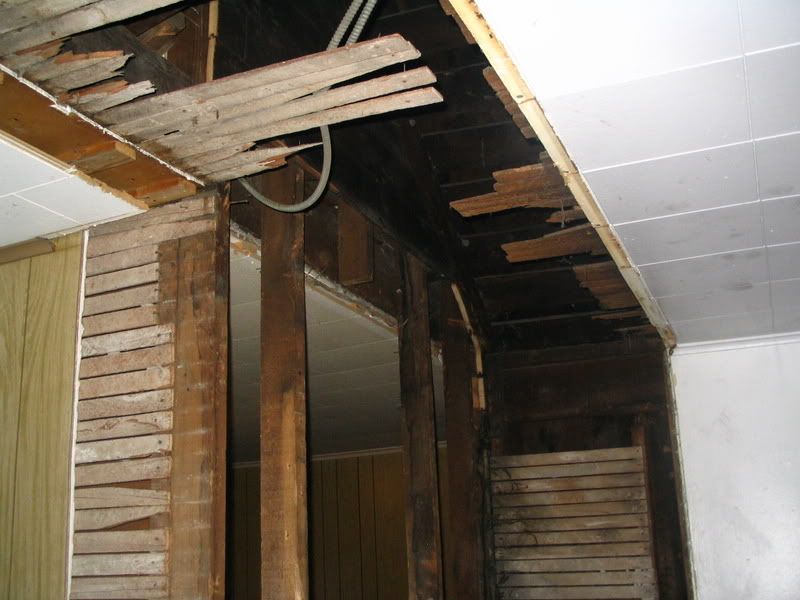
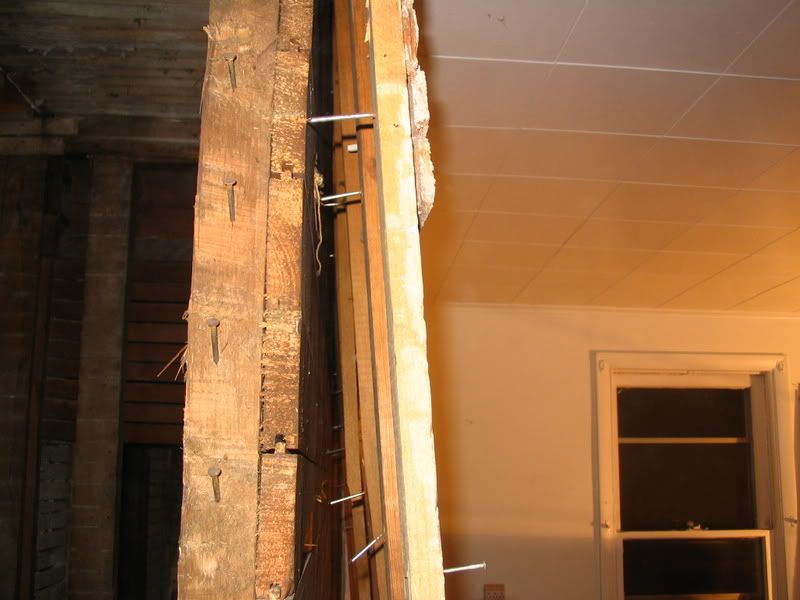
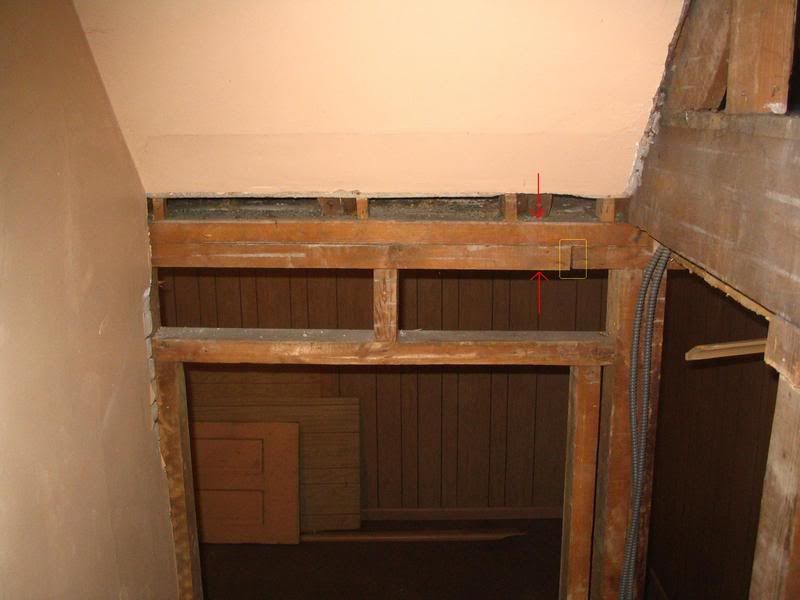
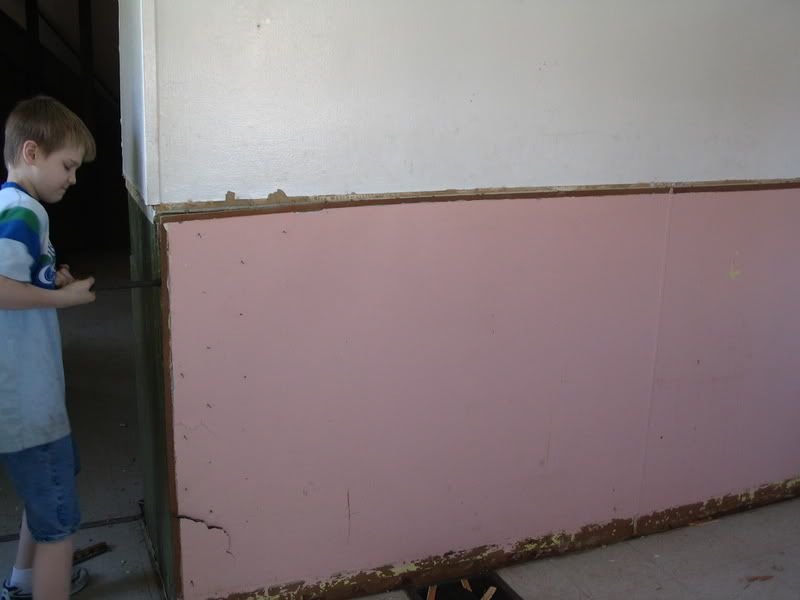
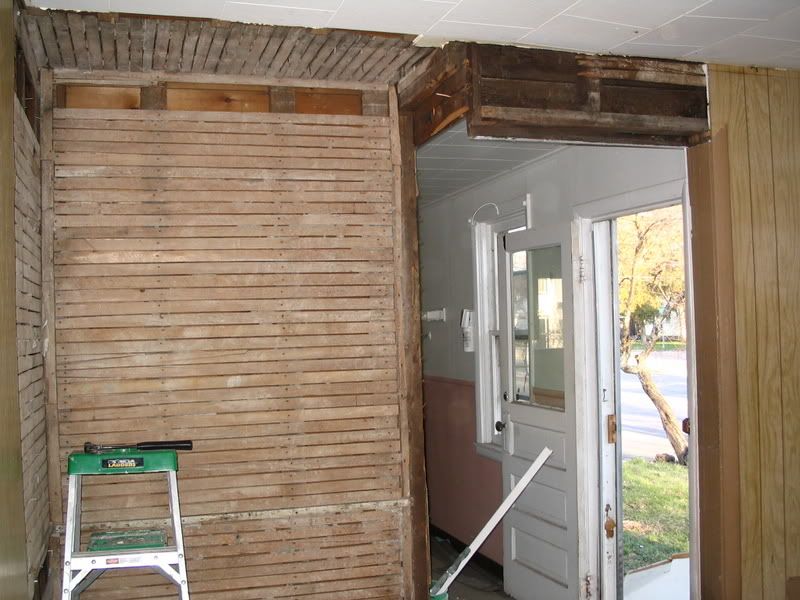
And it's open... well I guess it wasn't quite that easy. we thought we got lucky in the dining room. when we pulled off the paneling there was drywall. Unfortunately it was over lath... but better than having to pull all the plaster!


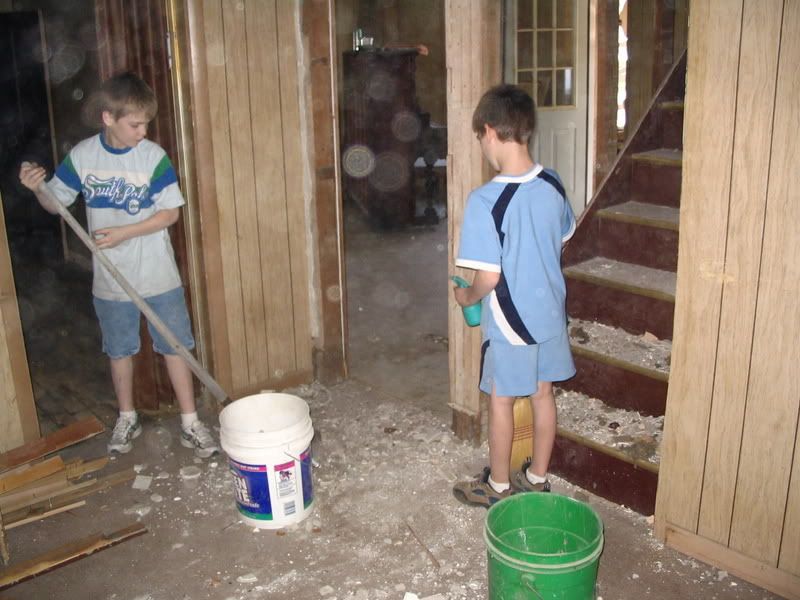
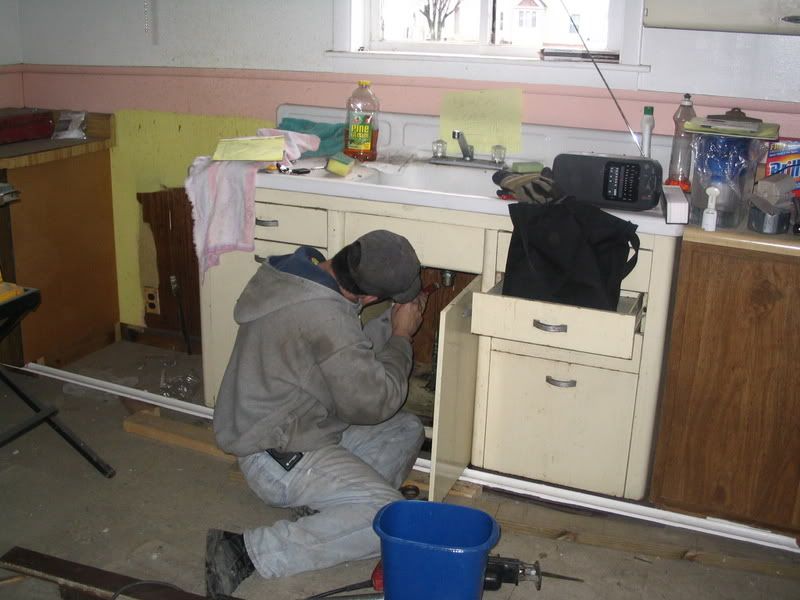
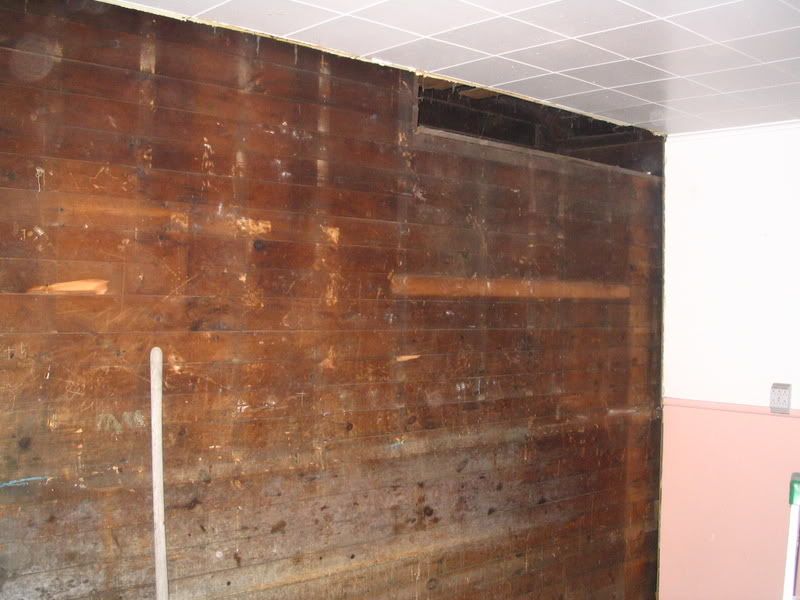
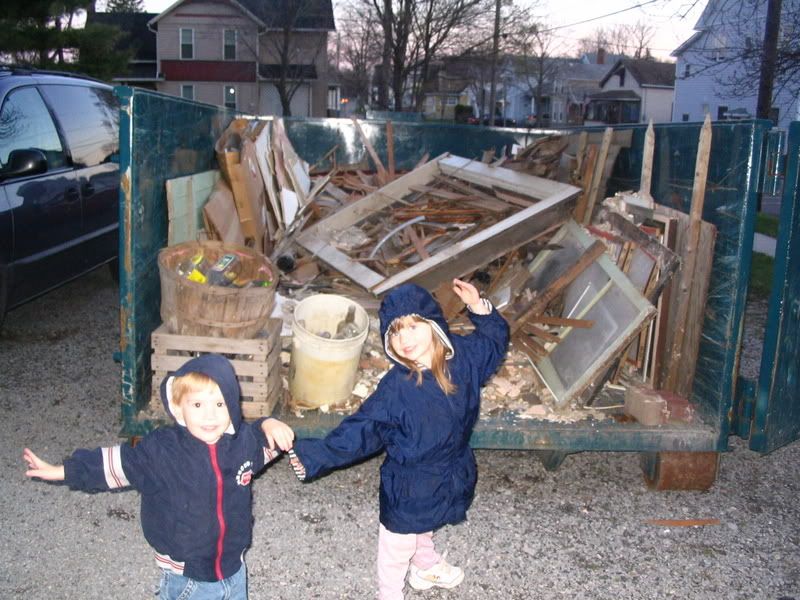
With some cheap labor we got everything cleaned up and can move on to the next wall.
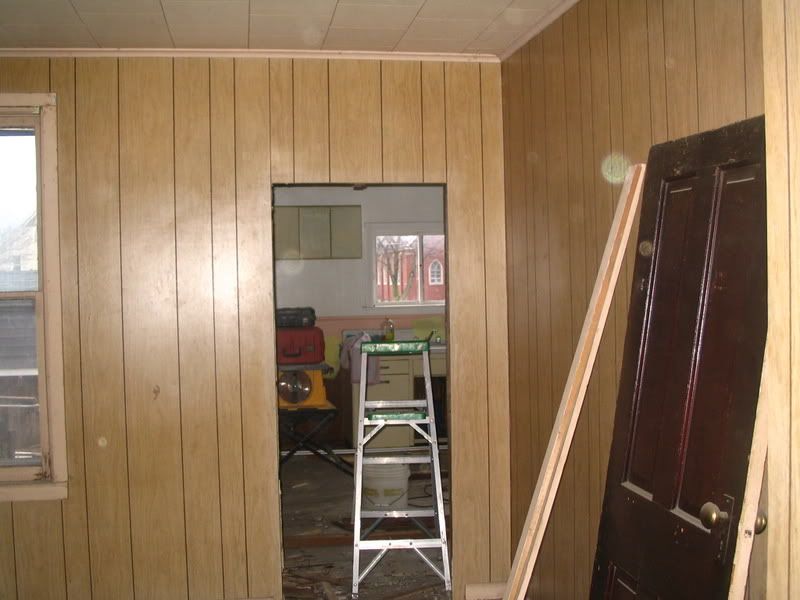
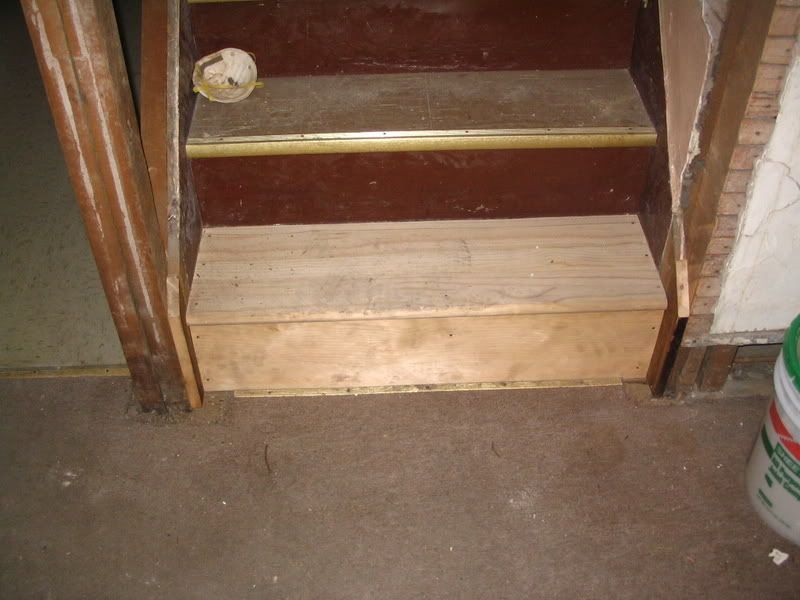
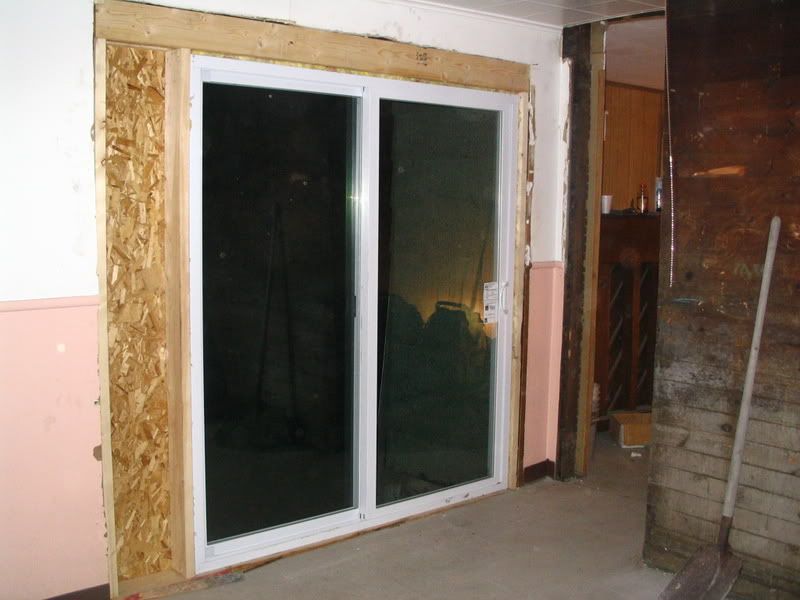
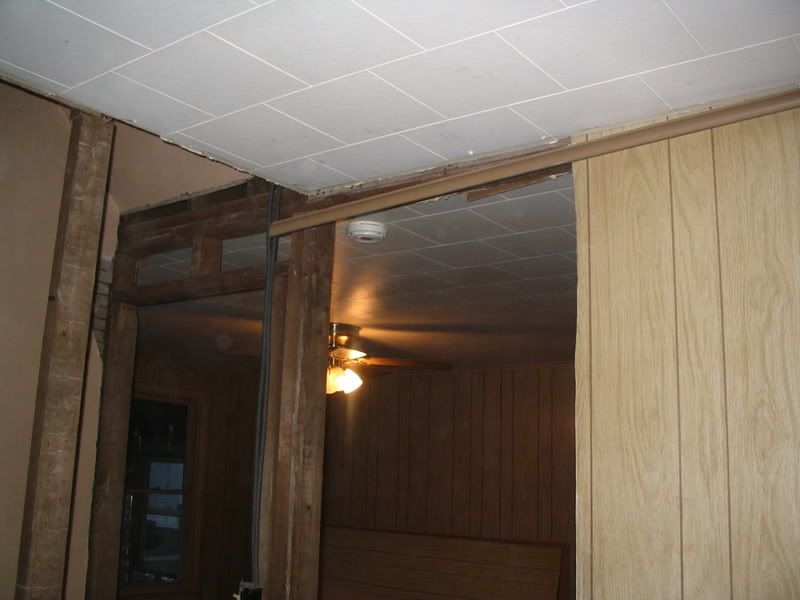
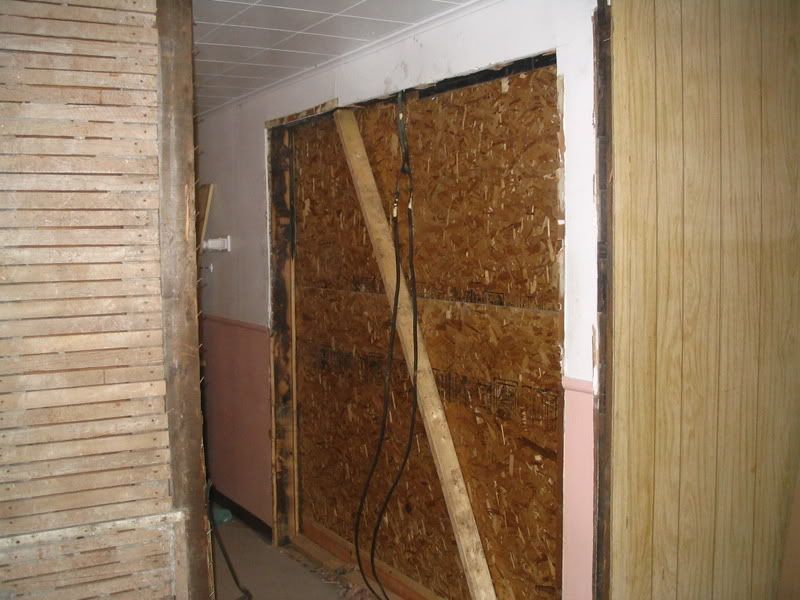
I also took off the frames from both doors you can see in that picture and I think we can finish the doorways just about flush to the ceiling. The pictures don't do it justice but it really opens up the stairs and the living and dining rooms flow together much better.

Now all we have to do is figure out how to attach a banister and railing... A gentleman from church, named Stan, is a longtime wood worker. Stan cut down a cherry orchard and milled the wood himself. He has offered whatever wood, tools (he has a full shop in his barn), and advice we need to make all the parts! Looks like we may end up with a hand made cherry banister. Now if only I had an extra 8 hours a day to work....

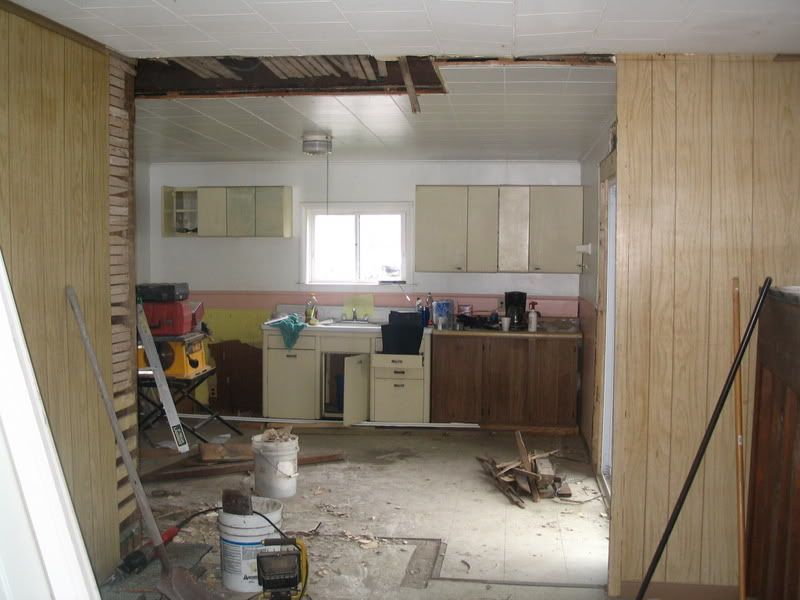
next up is the kitchen wall...